On the form editor, there are design template that uses video as background, you can upload your own video or select from Bannerbite gallery, in this example we will upload a video from local drive.
Click ‘Upload’ button, then select the file, then click Open, after a few moment a modal window will appear, this is the video editor, where you can adjust the video size and adjust the duration
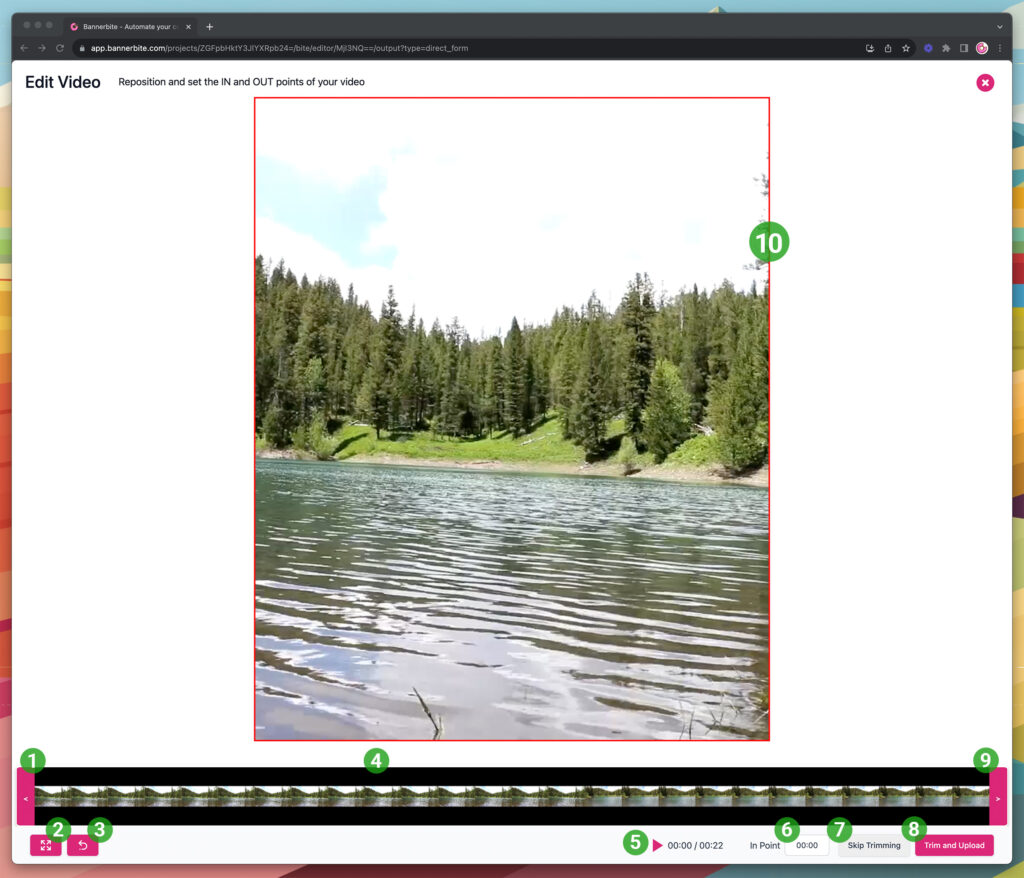
- In Point: Drag this handle to set the in point of your video, for example you want to start the video at 00:04, drag the handle until the in point indicator show 00:04
- Scale Button: Click this button to scale the video, to fit the width or height of the canvas.
- Reset Size: Reset the video as it is and place it center to canvas
- Thumbnail Timeline: Show the thumbnail of the video for easy selection
- Play Button: Click to play the video
- In Point Indicator: Display the in point time when you drag the in point handle
- Skip Trimming Button: If you want to use the video as it is, click this button, the system will try to fit and match the canvas and the video
- Trim & Upload: When you done trimming and resizing the video, click this button to start the process
- Out Point: Drag this handle to set the out point (end) of the video
- Canvas Bound: Red box is the border of the visible area for the design, try to keep the video inside the bounding box
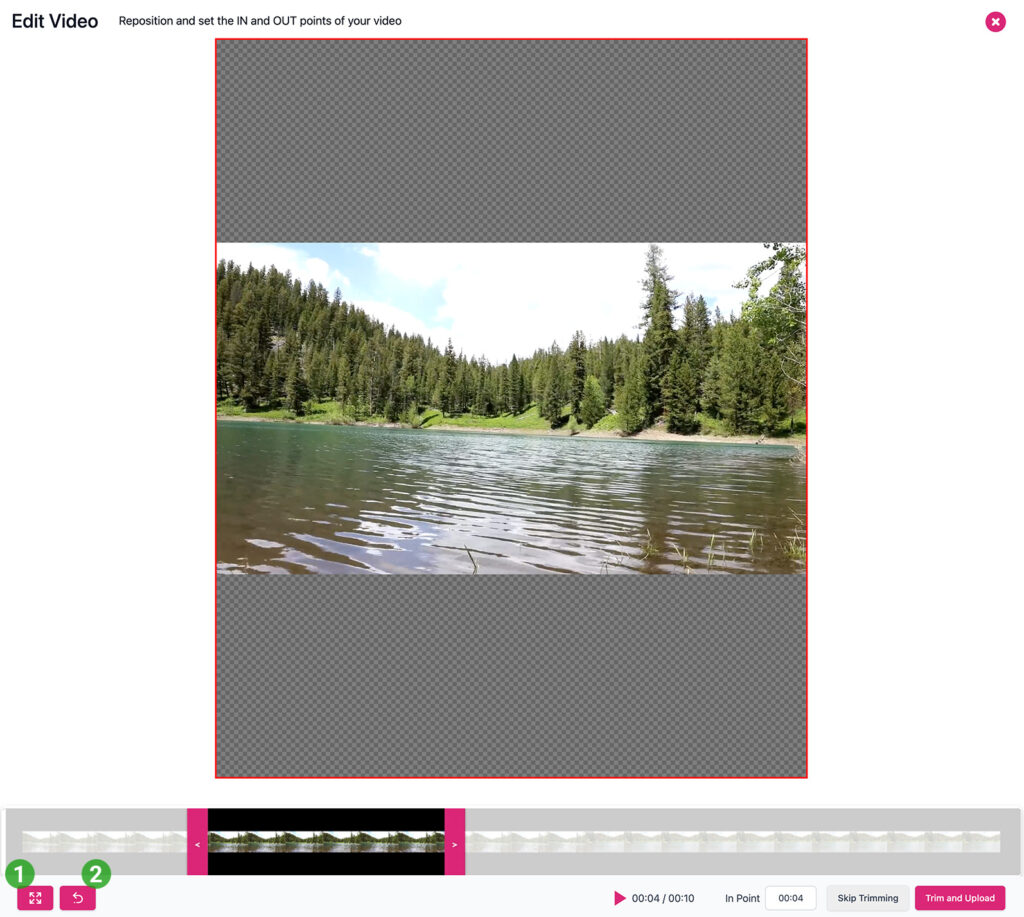
Trim Video
In this example, the video duration is 6 seconds, starts at 00:04 ends at 00:10

Scale Video
Try to click the scale button several time to see the size changes of the video, then click the reset button
Video Positioning
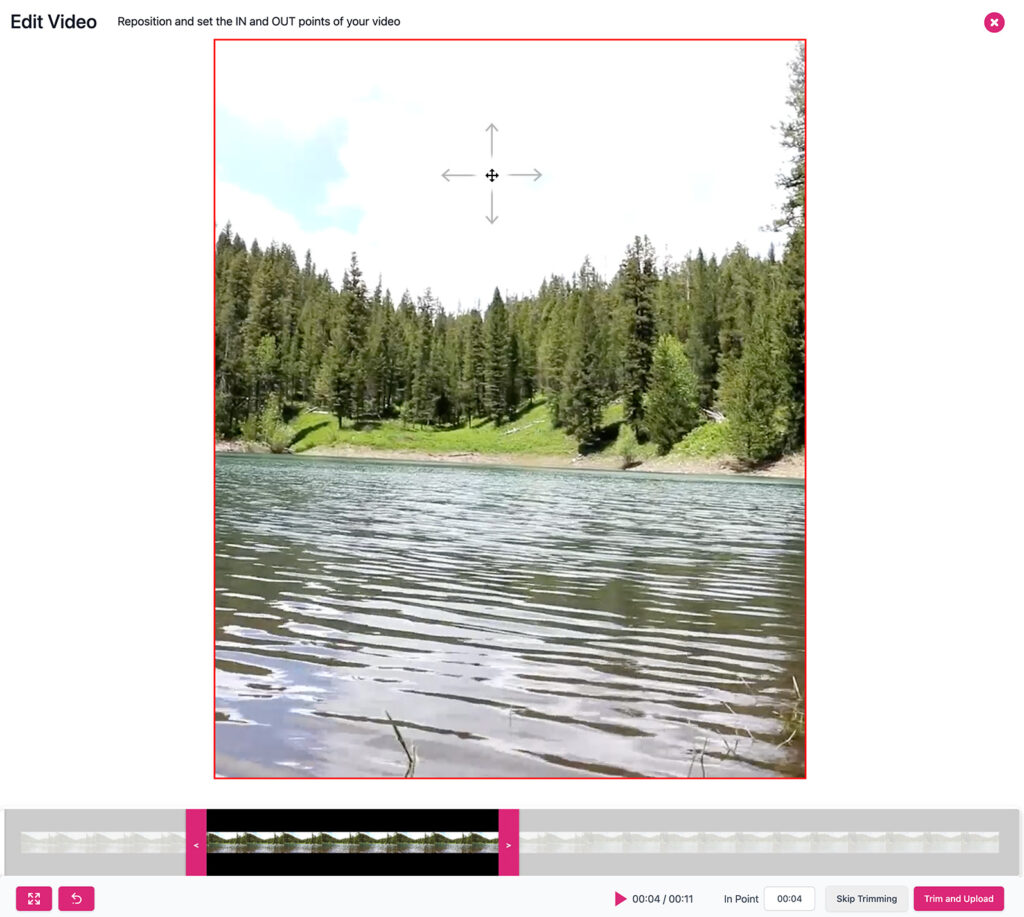
Click and drag the video inside the bounding box
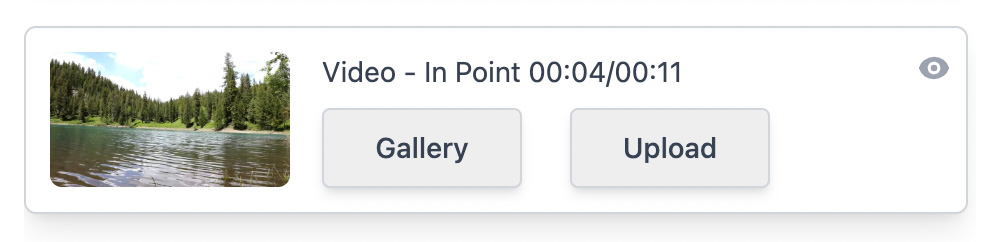
When you done with the video editor, the thumbnail will be updated on the form editor, if you want to edit the video again, double click on the thumbnail
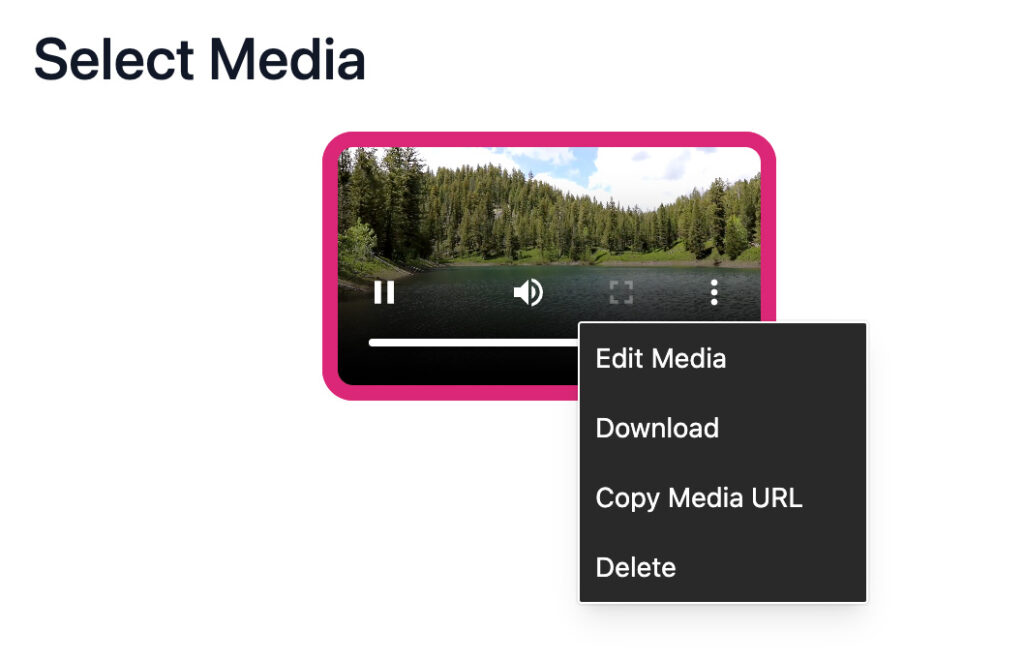
From the media gallery, right click a video asset and selecy Edit Media to open the video editor
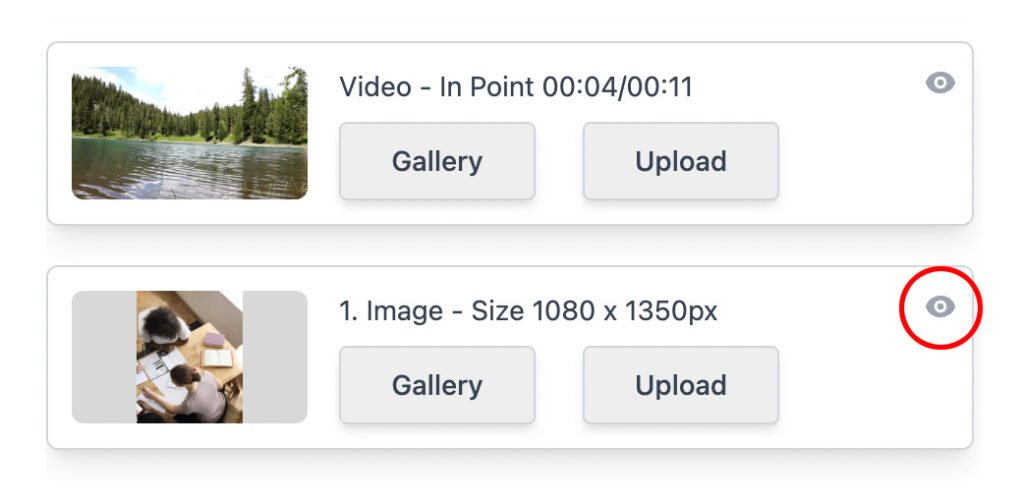
Video layer are placed on the bottom layer, to make it visible in the design, you need to turn off the image layer on top the layer, the template is flexible, you can use image or video, or even both if your image has alpha channel, it will make the layer below visible
Preview Video
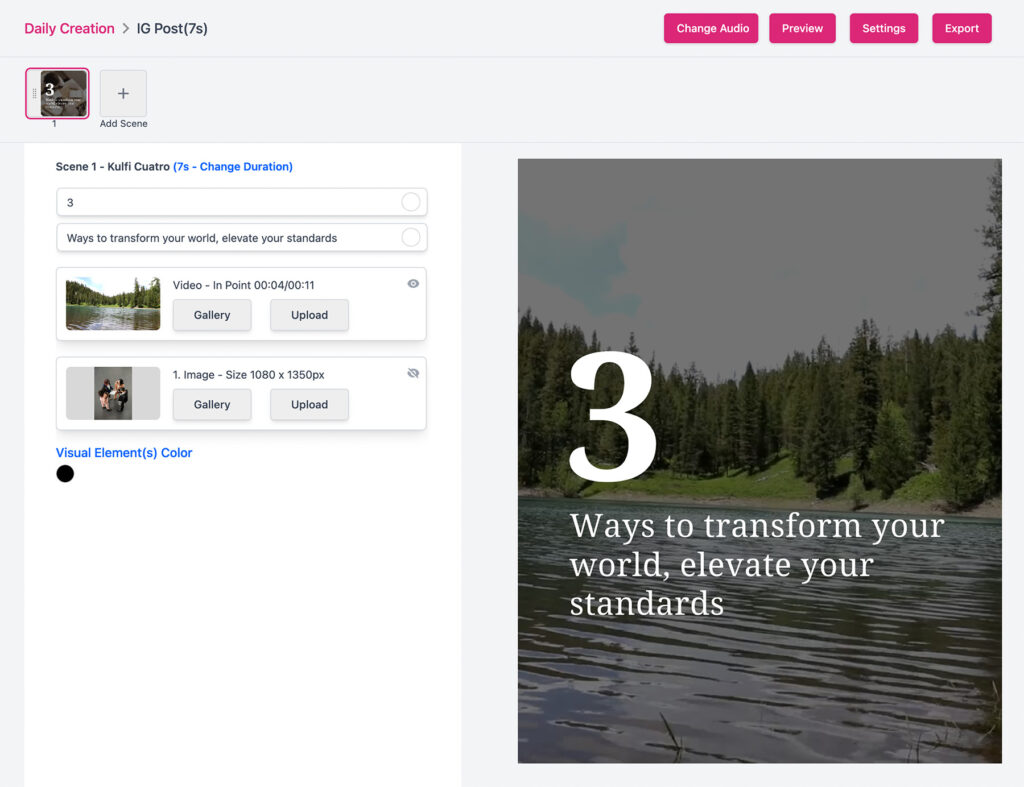
Roll-over on the preview area to see the video playback.